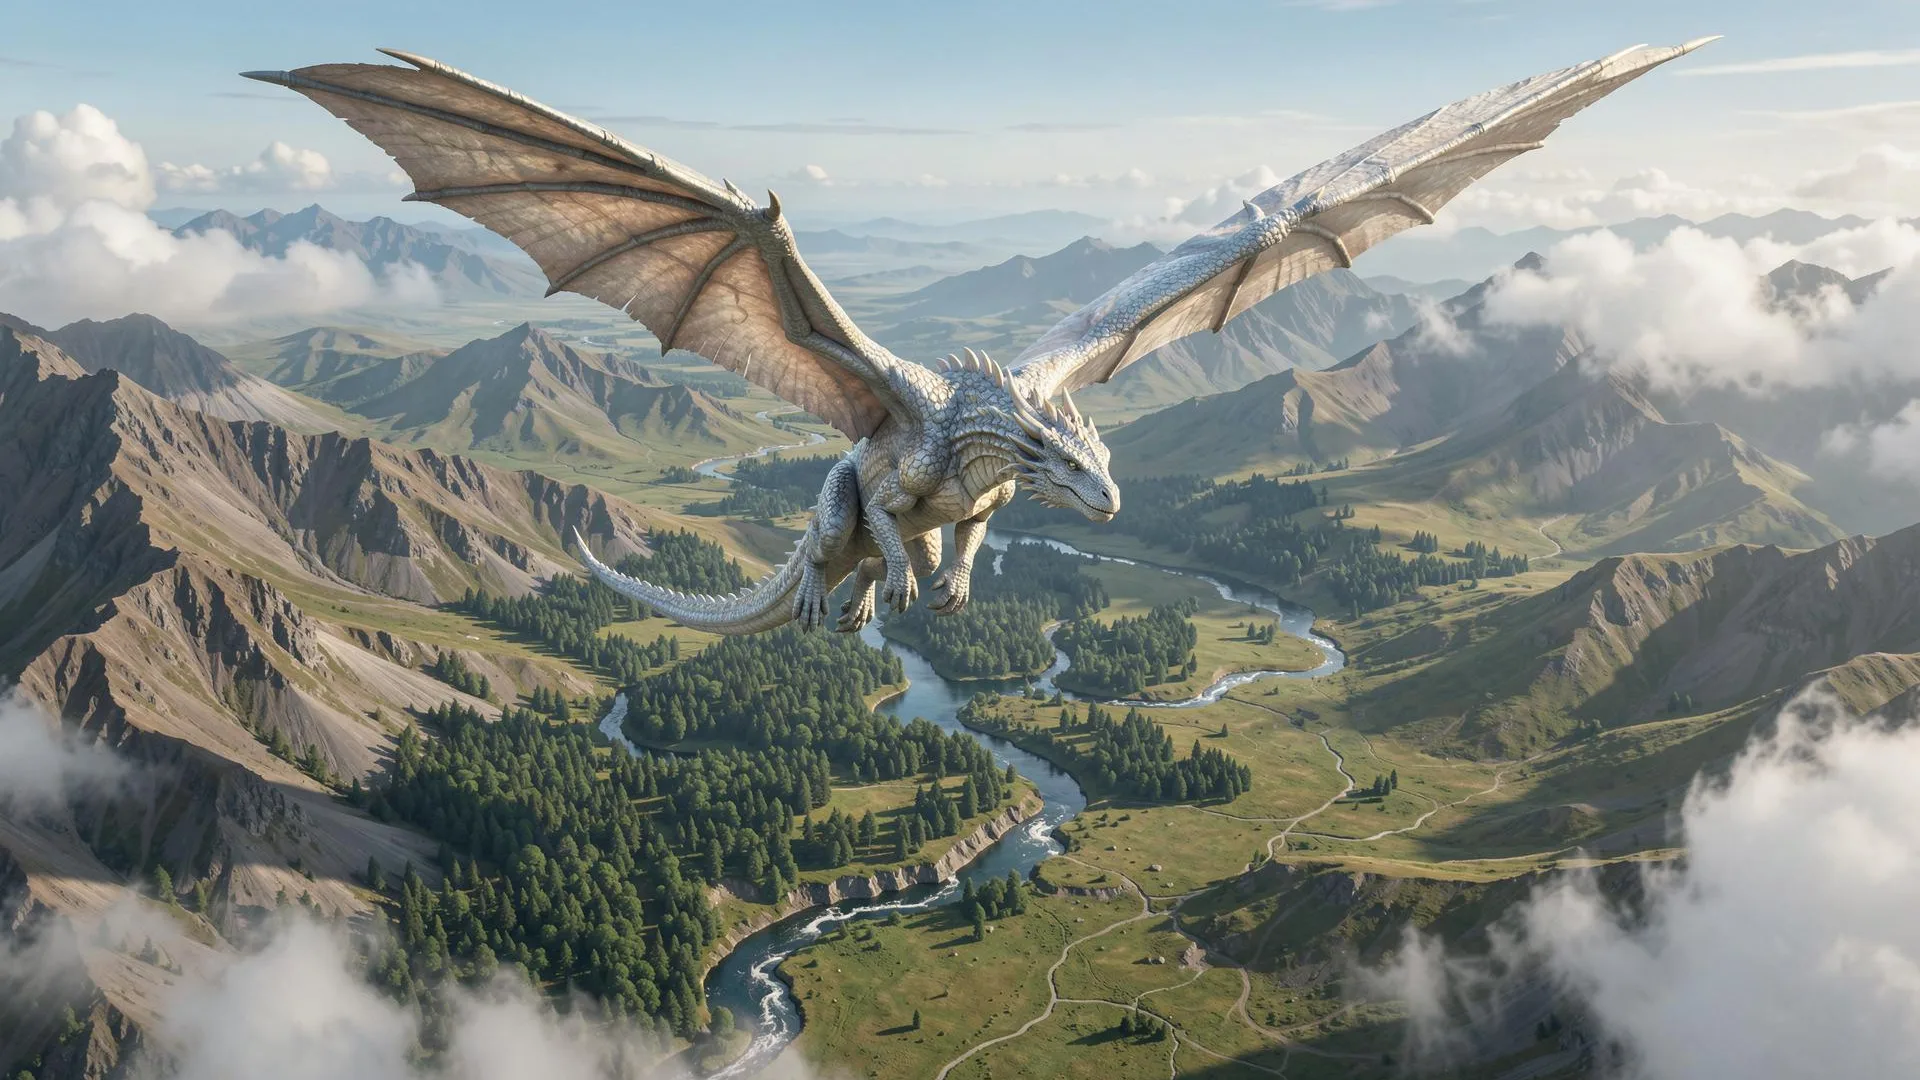
The Shadow Scholar's Temple | Dragons of Aventainya
There are fun fully animated intros and chapters, less than 2 minutes, on the channel for Aventainya. youtube.com/@aventainya Three centuries after catastrophe reshaped Aventainya, the Church of Tain rules a civilization that credits its god with saving the world. Beyond the comforts of its settlements, six sellslingers known as the Traveling Goodberries seek their fortunes amid ancient forests, deadly magic, and the lingering legacies of dragons. Their search for paying work becomes a journey through Dragon Delves, my first foray into using modules within my homebrew campaign of 40 years.
D&D 5e / 2024
5 sessions · 5 public recaps
Game Master: DungeonMattster
All sessions in Dragons of Aventainya
Session 4 ·
Read the recap as text
RECAP RAVEN
Get your own recap
Dragon Delves · Session Recap
The Shadow Scholar's Temple
Descent into the Mountain Sanctum
Last we left off
The party arrived in the mountain village of Graysmere and met Oriann, who hired them to investigate grave disturbances and theft at an old Shadow Scholar temple. The Church of Tain refuses to interfere. After Aragog summoned a fey raven named Nevermore and the group slept at the inn, they trekked through the snow to the temple entrance. Q and Vel scouted ahead, spotting a cultist commanding undead workers, leading to a fierce ambush. After clearing the initial chamber, the party discovered a torture room where a wraith emerged after disturbing the body of a tiefling, draining Aragog, Vel and Thorik's vitality before fleeing through a wall. It remains at large. They recovered a mysterious black wand and several keys before entering a vast, incense-filled ceremonial chamber with an enormous statue of the Shadow Scholar where they now stand, listening to movement in a nearby connected room to the south.
Pillars of Play
How this session's scenes split across Exploration, Social, and Combat — an approximate read, not a grade.
Exploration 23%
Social 8%
Combat 69%
Pillars of Play — percentage of this session's scenes by pillar
PillarShare
Exploration23%
Social8%
Combat69%
Session Flow
Arrival at the Greysmere Tavern
The party reached the cold mountain village of Greysmere and sought refuge at the Death's Bane Tavern. There, they met a silver-haired aasimar man named Oriann who recognized them as capable adventurers in need of work.
A Contract for the Temple
Oriann described crimson-robed figures disturbing graves at a local temple. They stole many odd items, and the church of Tain refuses to assist. The party agreed to investigate the site for a reward, securing lodging and breakfast before preparing for their journey into the mountains.
Rest and a New Companion
During their stay, Aragog summoned a fey raven named Nevermore to assist them. Oriann provided a map of the area, and the group finalized their supplies before heading out into the freezing mountain air.
The Temple Entrance Beckons
The party reached the temple, marked by ominous green-lit goat skulls. They descended into the cold, dark depths, carefully arranging their formation as they prepared to face whatever lurked within the ancient stone halls.
Stealthy Reconnaissance of the Cult
Q and Vel scouted the lower levels, discovering a group of undead workers and a dragonborn cultist. The undead workers were pulling down statues and tearing up the tile floor. Q and Vel observed the enemy's activities from the shadows, gathering information before deciding to strike at the heart of the group.
Ambush and the Undead Fight
The party launched a surprise attack against the cultist and her undead minions. Despite the zombies' unnatural resilience, the group fought with determination, eventually clearing the chamber and securing the area for further investigation.
Clues in the First Chamber
The party examined the desecrated floor and found a mosaic of a winged demon was what was pictured on the tiles. They collected various supplies and matching holy symbols from the fallen, then pushed deeper into the temple through an unlocked door.
The Wraith Rises in Darkness
In a grim torture chamber, Aragog’s search of a fallen tiefling triggered a spectral wraith. The creature drained Aragog’s life force then wounded Vel and Thorik, but the party rallied to drive the spirit back into the walls. The wraith remains at large.
Hidden Treasures and Keys
After the battle, the party recovered a key from the tiefling’s vest and discovered a secret compartment containing a mysterious black wand. They also gathered iron keys and an amulet from the dusty passage.
Movement in the Ceremonial Hall
The party entered a vast chamber dominated by a towering statue of a Shadow Scholar. As they stood in the incense-filled air, they heard the distinct sound of movement, signaling that they were not alone.
Character Spotlights
Q
Scouted the temple with precision and initiated the surprise attack. Q’s mobility and quick thinking were vital during the initial skirmish and the subsequent search for secrets.
Vel
Played a crucial role in the front line, landing a powerful strike to fell a ghoul and risking her own safety to ensure Aragog received life-saving aid.
Aragog
Summoned the fey raven Nevermore and showed great resilience after being drained by the wraith. Aragog’s investigation of the tiefling remains proved pivotal for the party's progress.
Thorik
Provided a steady and fierce presence in combat, utilizing his strength to turn the tide against the undead and drawing the wraith's focus during the most dangerous moment.
Torvin
Adapted his tactics quickly when faced with undead foes, switching from poisons to fire to help finish off the enemies, and provided the elixir that helped revive Aragog.
Ostran
Contributed consistent ranged support throughout the battles, landing key shots against the ghouls and the wraith to help the party maintain their momentum.
MVP / Standout Moment
Vel
Open Hooks
What is the current group in crimson robes doing at the temple, and why are they stripping its mosaic and statues?Are the new robed followers connected to the old Shadow Scholar cult, or are they a different group adopting its symbols?What is the source and purpose of the wraith, and can the party destroy or contain it?What does the hidden key open?What are the black wand's properties, and is it magical or dangerous?What caused the movement Vel heard in the ceremonial chamber?
Table Energy
69
Lively
A lively, high-energy session with strong combat, fun roleplay, and productive collaboration, punctuated by humor and some technical friction. The energy remained high during intense battles and discovery.
An approximate read of the table's energy, not a grade.
Words by Speaker
The DM10384 words
Q3319 words
Torvin1406 words
Thorik1090 words
Aragog1073 words
Ostran706 words
Vel571 words
Turns by Speaker
The DM798 turns
Q434 turns
Torvin181 turns
Thorik336 turns
Aragog188 turns
Ostran86 turns
Vel78 turns
Scene Energy
Tense ascentIntense combatHumorous banterLoot & discoveryPlanning & map
Next Time…
What is the source of the movement in the ceremonial chamber?Can the party identify the purpose of the mysterious black wand?How will the party deal with the wraith if it returns?What are the crimson-robed figures truly planning at the temple?
Memorable Moment
“The party stood before the colossal statue, listening as the silence of the temple was broken by the sound of something moving in the dark.”
Session Energy
The table's intensity scene by scene, from quiet downtime to peak drama (0–1 scale). Approximate read.
Arrival at Graysmere — energy 0.2
Orion Offers a Contract — energy 0.25
Rest, Supplies, and Nevermore — energy 0.25
The Temple Entrance — energy 0.25
Stealthy Reconnaissance — energy 0.35
Surprise Attack and Undead Fight — energy 0.85
Clues in the First Chamber — energy 0.75
The Wraith Rises — energy 0.75
Healing and a Hidden Wand — energy 0.25
Keys in the Hidden Passage — energy 0.25
Movement in the Ceremonial Hall — energy 0.3
Start of session0.5 = steadyEnd of session
Session energy per scene, on a 0 (low) to 1 (high) scale
SceneEnergy
Arrival at Graysmere0.2
Orion Offers a Contract0.25
Rest, Supplies, and Nevermore0.25
The Temple Entrance0.25
Stealthy Reconnaissance0.35
Surprise Attack and Undead Fight0.85
Clues in the First Chamber0.75
The Wraith Rises0.75
Healing and a Hidden Wand0.25
Keys in the Hidden Passage0.25
Movement in the Ceremonial Hall0.3
Generated from the session transcript; engagement stats are approximate. Player-facing recap — GM-only/private details are excluded.